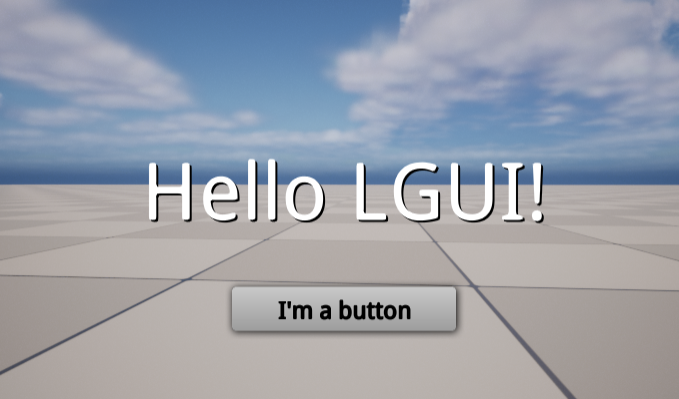
Custom Button
In this section, we will learn how to customize our button using UISprite. Before this, you should follow HelloWorld section to create a default button. The default button is a little ugly, we can use a nicer looking texture instead.![]()
Prepare a sprite texture.
Use photoshop or any other app to create a image, or use this one:
Drag the image to engine content folder, name it "Button":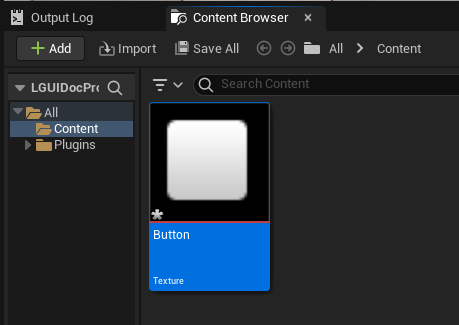
Create UISpriteData.
Select "Button" asset, right click on it and choose "LGUISprite"->"Create Sprite":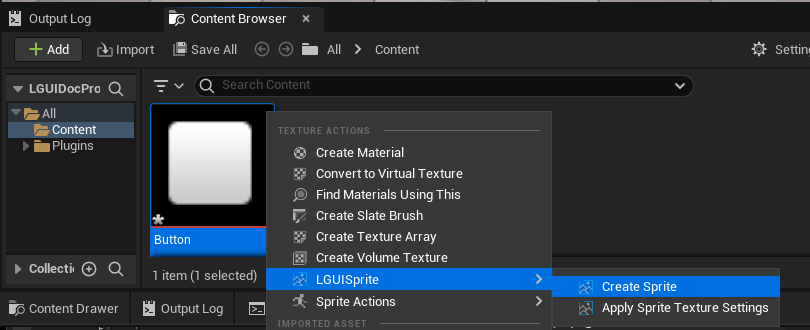
Then a LGUISpriteData asset named "Button_Sprite" will be created:
Double click on "Button_Sprite" and open a UISpriteDataEditor: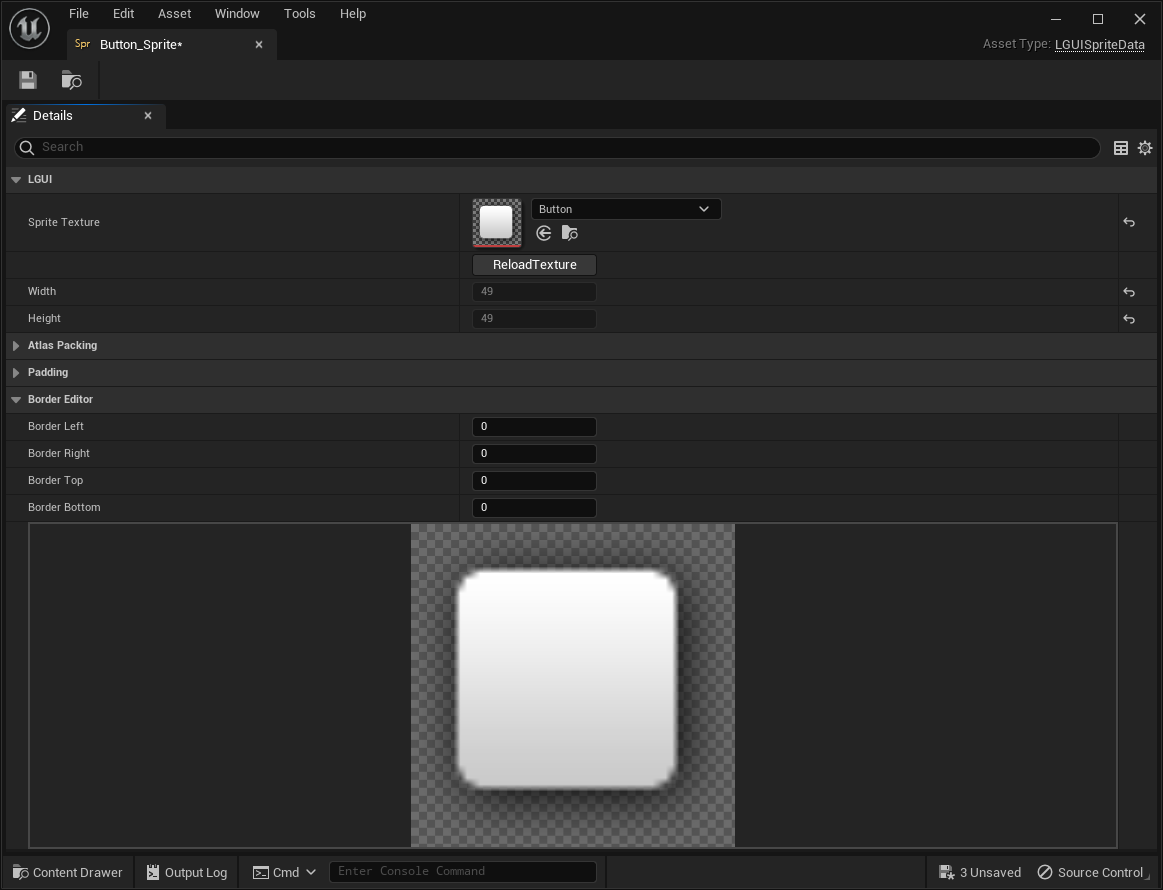
Change "Border Left" and "Border Top" to 14, "Border Right" and "Border Bottom" to 15: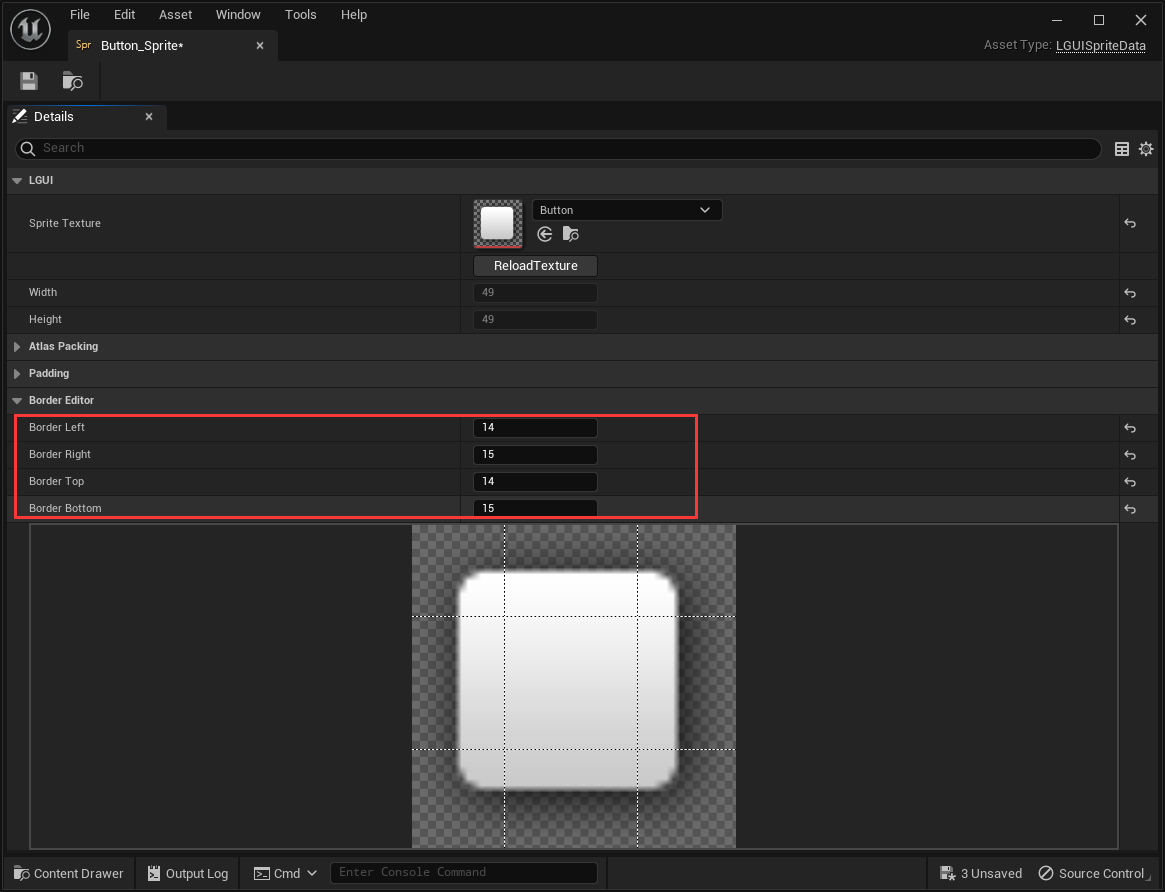 Close the UISpriteDataEditor.
Prepare a LGUI ScreenSpaceUI.
Follow the HelloWorld section to create a base ScreenSpaceUI: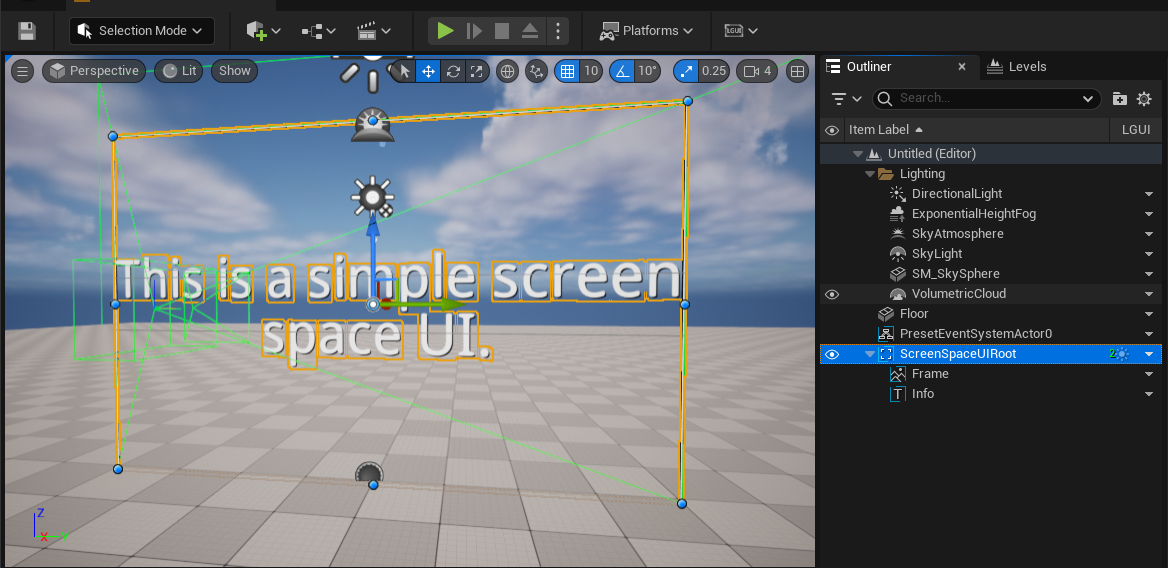
Create UISprite and UIText.
Select "ScreenSpaceUIRoot" actor, right click on the arrow button and choose "Create UI Element"->"UISprite", this will create a UISprite actor: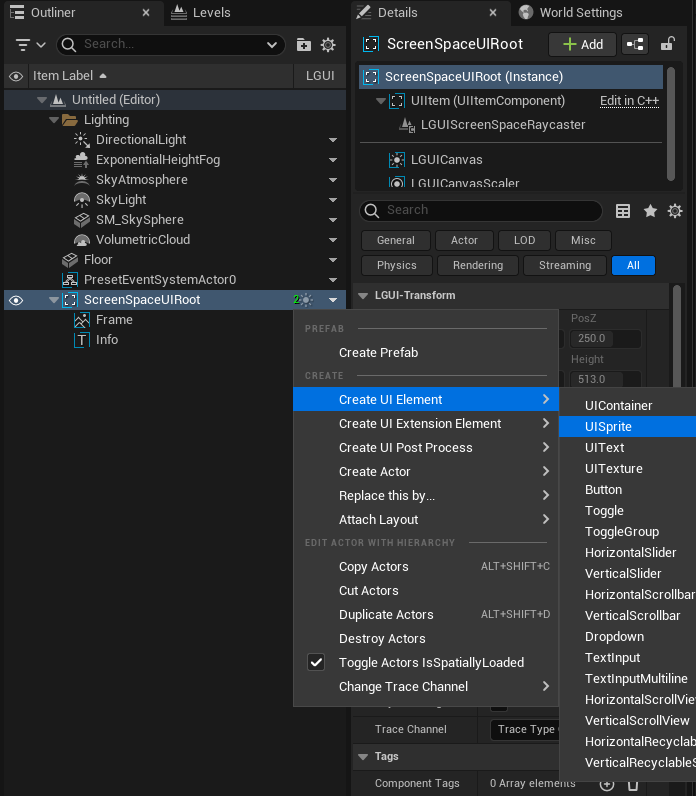
Rename the created UISprite actor to "MyButton", and change "PosZ" to -120: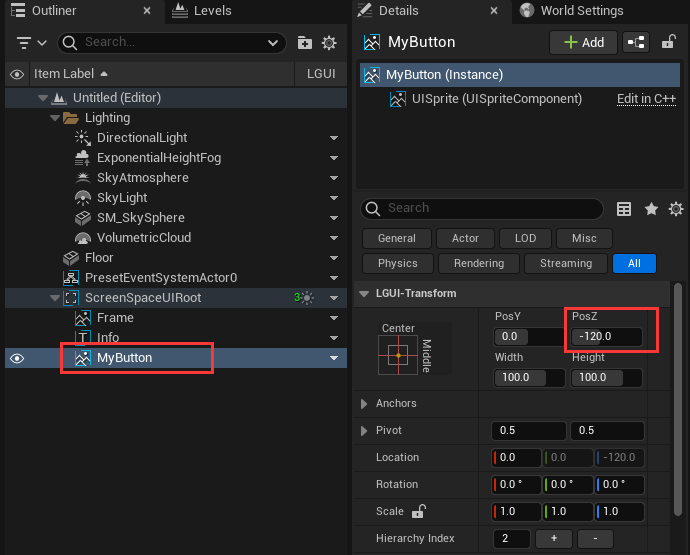
Select "MyButton" actor, drag "Button_Sprite" asset to "Sprite" property, see the change in viewport: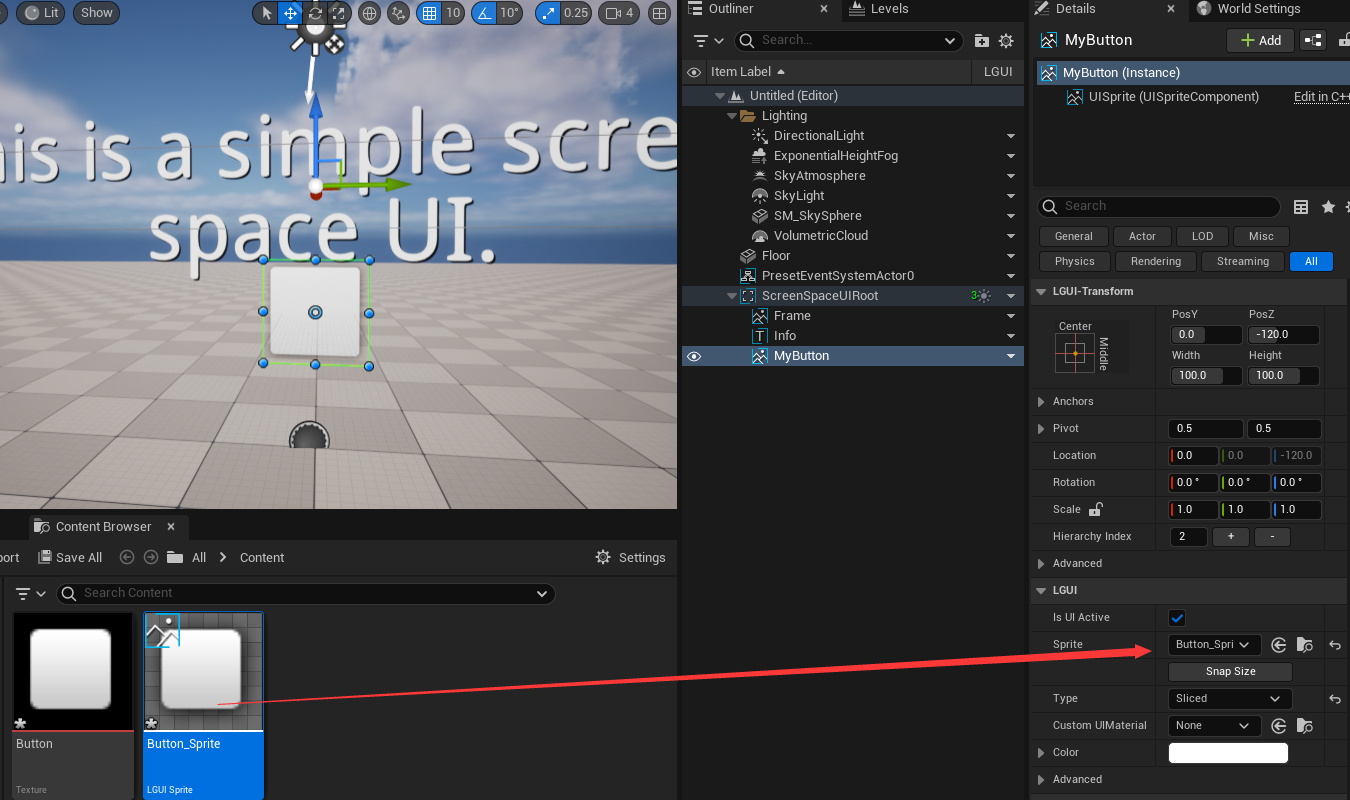
Select "MyButton" actor, right click on the arrow and choose "Create UI Element"->"UIText", this will create a UIText actor: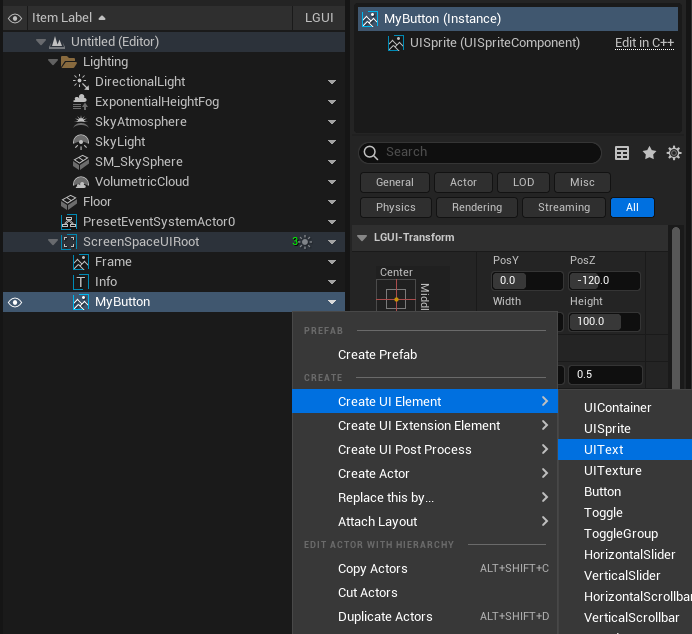
Rename the created UIText actor to "MyButtonText", and change "Color" to black, "Text" to "I'm a button", "Size" to 24, "Font Style" to "Bold":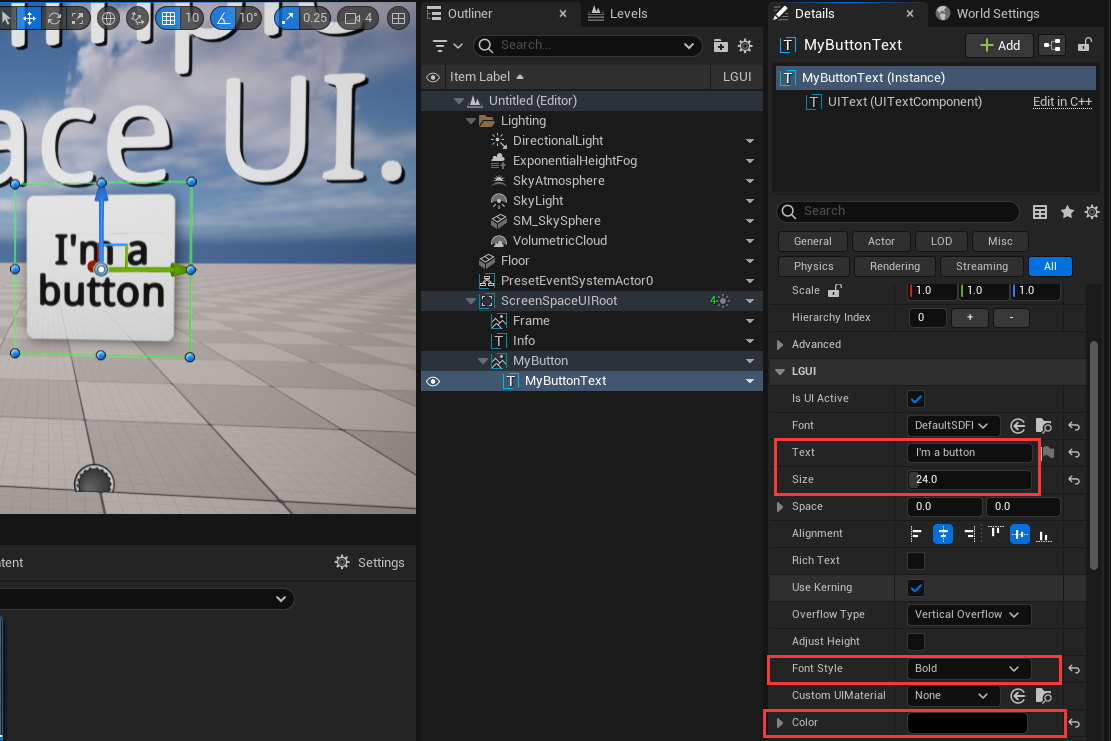
Adjust button size.
Select "MyButton" actor, change "Width" to 240, "Height" to 60: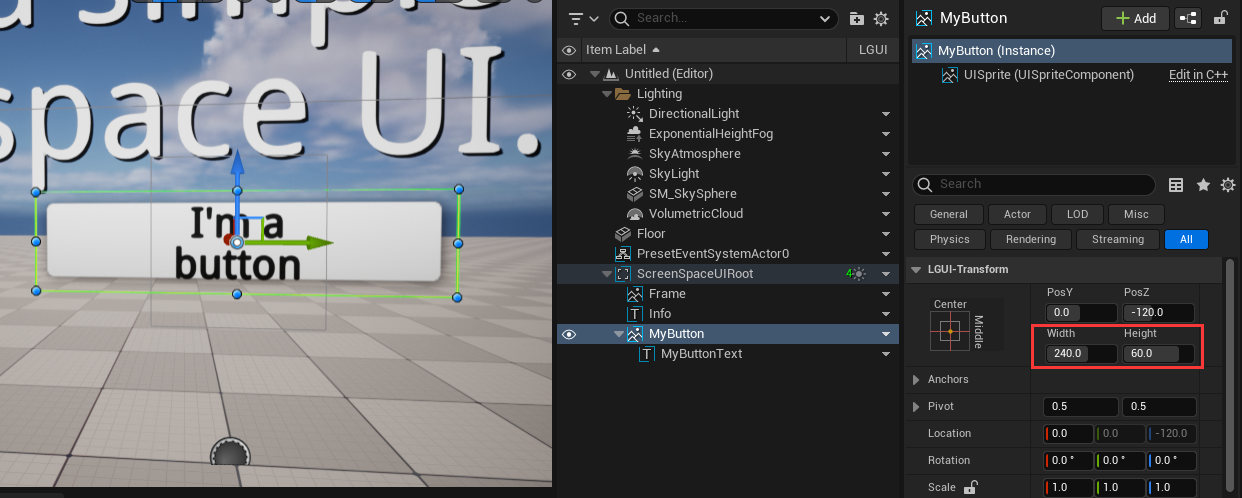
Select "MyButtonText" actor, click anchor buttn and a AnchorPreset will popup: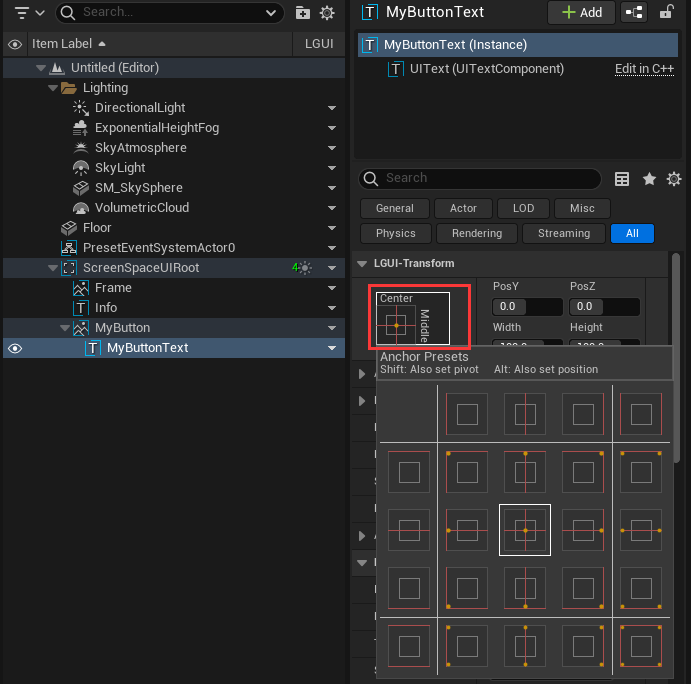
Hold "Alt" button on keyboard and click the right bottom button in AnchorPreset, see change in viewport: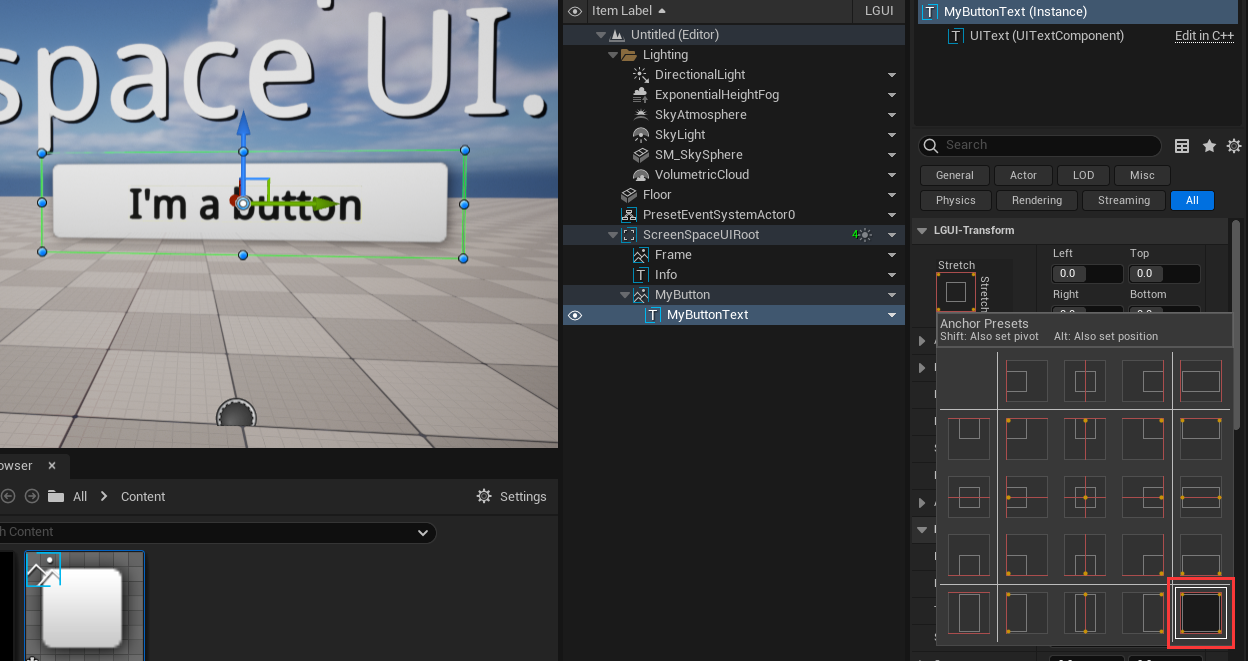
Add UIButton component.
Select "MyButton" actor, click "+Add Component" and add a "UIButton" component: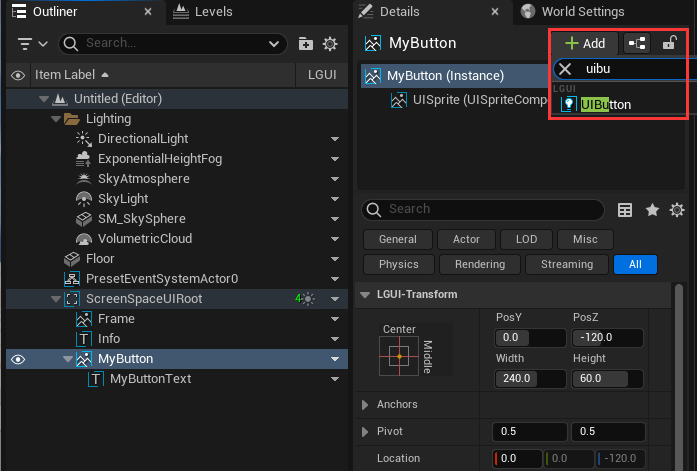
Select "UIButton" component you just created, change the "Transition" to "ColorTint":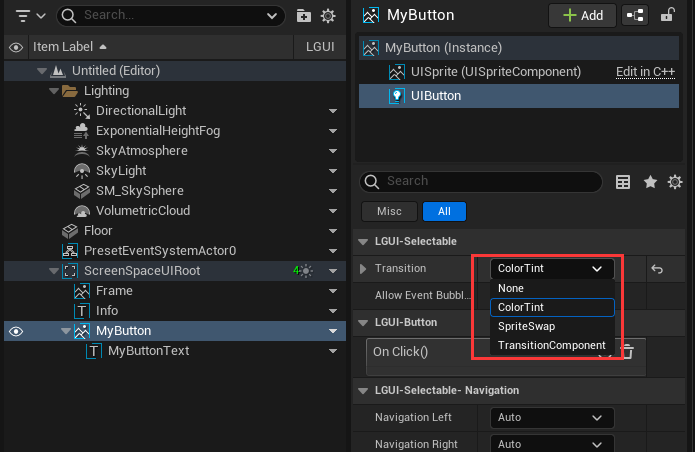
Click on the left arrow of "Transition", this will expand the transition area: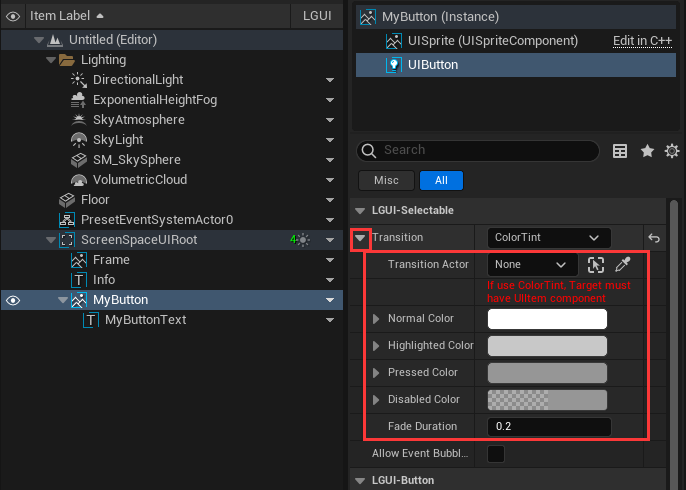
Drag "MyButton" actor to "Transition Actor":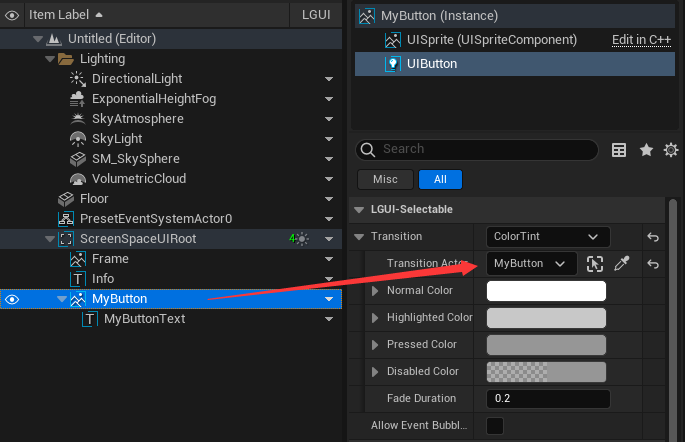
Enable RaycastTarget.
Select "MyButton" actor, select "UISprite" component, in LGUI-Raycast category check "Raycast Target" property: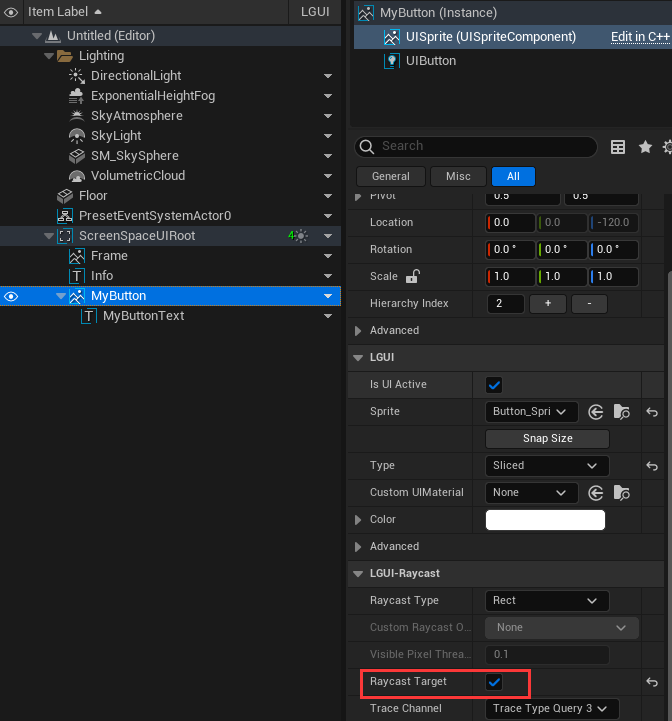
Add button event:
Select "MyButton" actor, select "UIButton" component, find "On Click()" property and click the "+" button:
Set the event like this: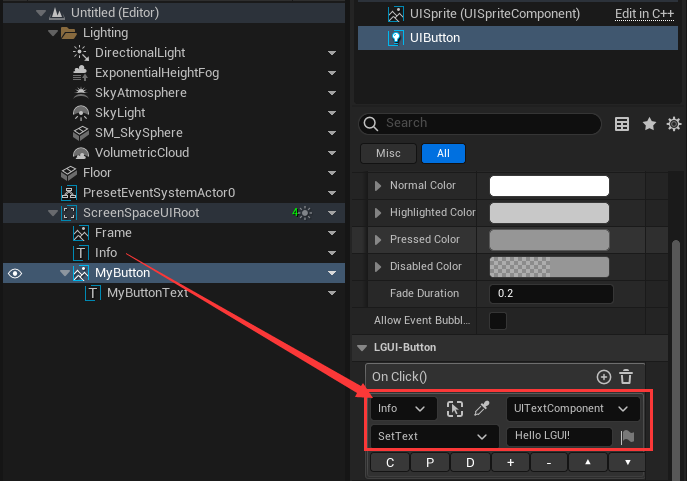
Now hit play and move your mouse over the button, then click the button, see the change in viewport: